Making of an Ocarina
Introduction I
Note:
Before browsing this page, please fist read 'the ocarina room' section of The Flute & Ocarina Site
This page is big ! (It consists of more than 30 photos. The total size is about 535k.)
Warning. Don't try to teach others being in the seventh heaven even if you learned the introduction of ocarina making by reading this page. I devote this page to people who want to make and enjoy ocarinas purely for themselves.
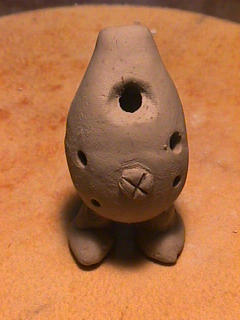
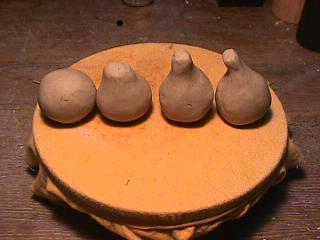
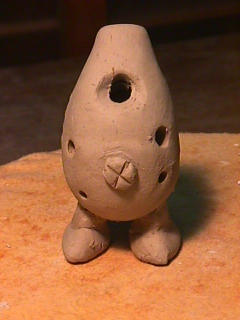
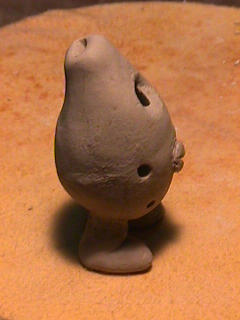
First thing you make is this. (This is just a toy.)
The bellybutton and the legs are optional. You don't have to attach them if you don't want to.
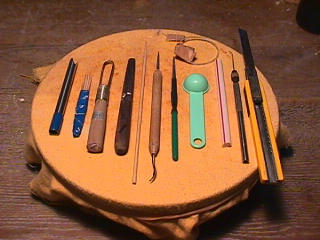
These are the tools. Most of them are not commercially available. So you have to make them yourself.
From left to right:
A punch : A tool to make a hole to the clayü@
Toothpicks : Several of them were tied parallel to each other. Used to scratch the binding surface of the clay
A pallet : Dig the clay using the metal part.ü@
A spatula for the air way : To make the air way
A wooden skewer : A very useful tool
A knife : A modified from a knife for pottery
A knife : Modified from a half-round file.
A measuring spoon : Used to finish the tone holes
A straw : Used as a punch
A knife : Made from a needle to do more minute work
A cutter : Used frequently
Cutting strings (above) : To cut the clay. Made of fine wires or fishing lines, etc.
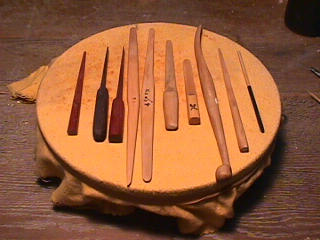
Various spatulas and pallets to make the air way of an ocarina
(You don't need all of them. All but the first and the third from the right are used to make the air way.)
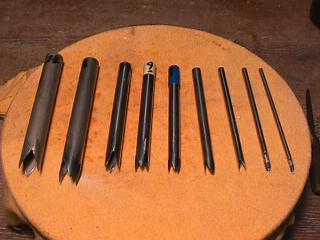
Various punches
The diameter for each punch is (in mm) 14üE13üE10üE9üE8üE7üE5üE4üE3
(You don't have to have all of them, but they are very useful. You can replace them with straws. They are most expensive among the tools for ocarina making. A set of 8 punches would cost about 16,000 Japanese yen. You don't need the 14mm oneüj
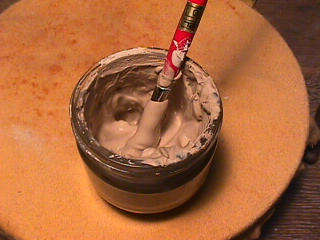
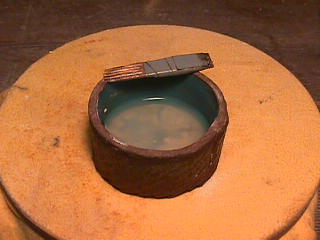
Mud suspension : Clay mixed in water. Used to put two pieces of clay together.
(To make the suspension, add water to crumbled and dried clay.)
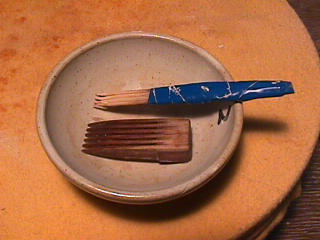
Combs : Used to scratch the binding surfaces of the clay to enhance the adhesives.
(The above one was made from toothpicks. The below one was modified from a comb for pottery.)
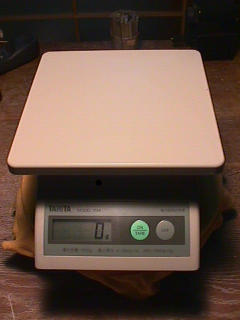
A scale : A cooking scale is enough. If you become experienced, you might want one with smaller minimum unit.
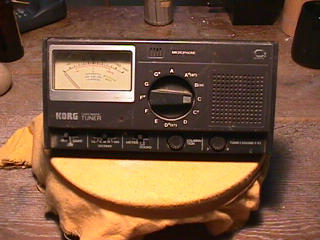
A tuner : Aü@tool to measure sound pitch
(Available at music stores. Only useful for high level players who know the theory)
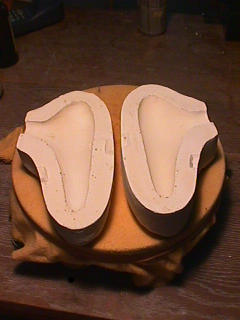
A mold made of plaster
You will make a mold when you mastered making the sound holes and adjusting the musical scale with hand.
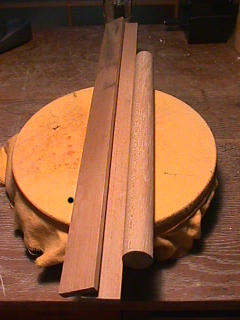
Tatara-boards (7mm) and a rolling pinü@
(Used to make the thickness of the clay uniform)
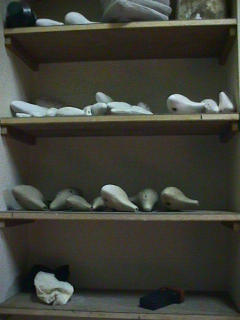
This is the place to dry ocarinas.
It is useful if you always have some water beside you.
Prepare a wet towel to moisten your dry hands.
Let's begin making an ocarina.
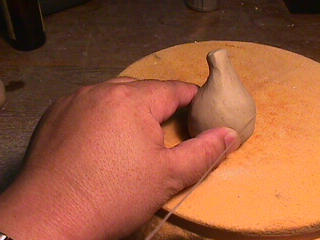
First you make a dumpling (left one)
Then squeeze out a part of the dumpling using the forefinger and thumb to look like 2nd from the left. Gradually change the form of the dumpling into the shape of the right one.
(The tip is to do it little by little. The action you use for this process is to 'push' the clay.)
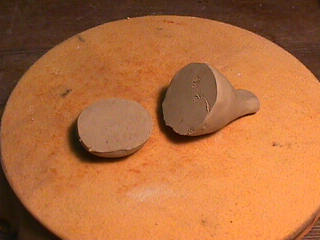
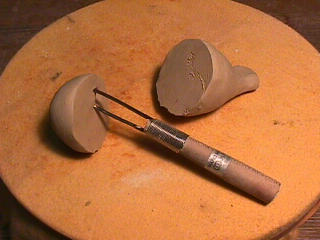
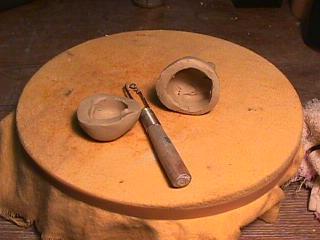
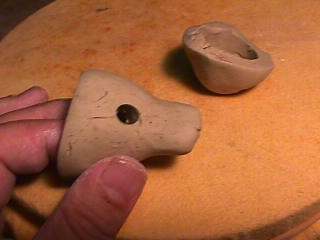
Cut it into half using a string.
Like this photo.
Dig out the inside using the pallet.
(Try to make the wall thickness uniform. Make it about 7mm.
Like this. Do you think the wall thickness is uniform??
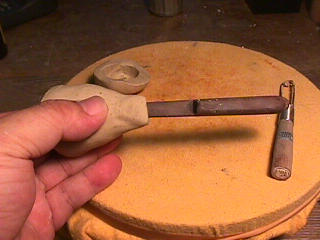
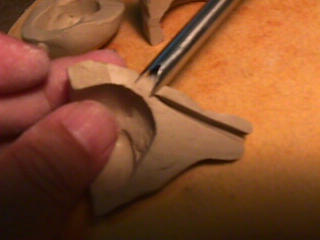
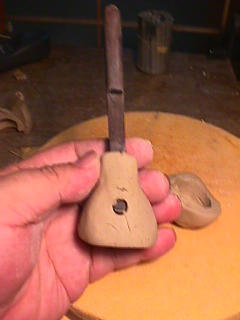
Insert a boxwood spatula to make the air way.
(You have to be very careful during this process.)
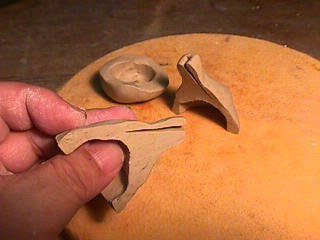
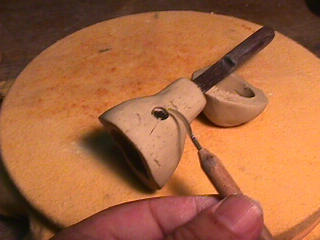
I cut it into half to make the inside visible..
(Caution! This is only for explanation. Don't cut yours!)
The boxwood spatula goes in like this.
(You can feel the spatula coming in if you hold the place where the tip of the spatula reaches with your thumb and a finger.)
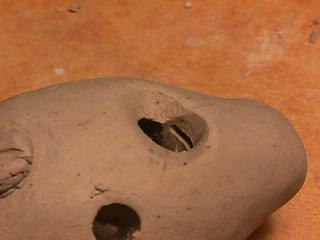
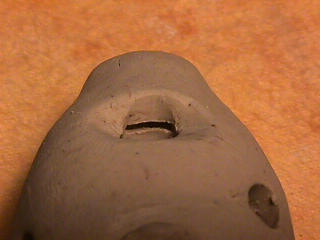
Open the sound hole using a punch.
Use the 7mm punch. The finished size is 8mm.
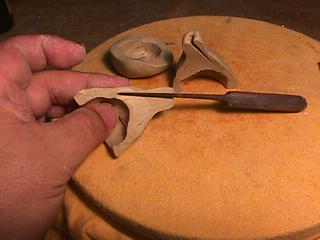
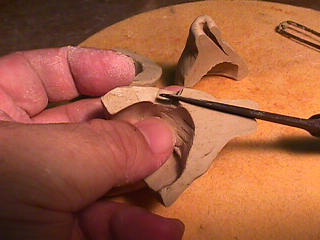
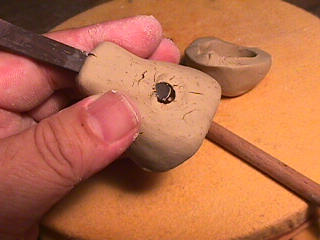
The sound hole has been opened. Insert the boxwood spatula again to finish the air way.
The space made by the boxwood spatula will become the air way. Make the 'edge' at the tip of the boxwood.
If you are good at this process, you will make nice sound.
If you see these processes with the one which was not cut into half...
Please refer to previous explanation
ü@
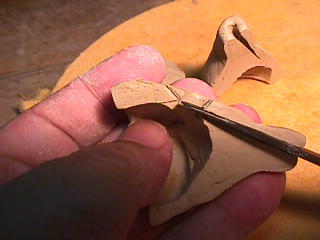
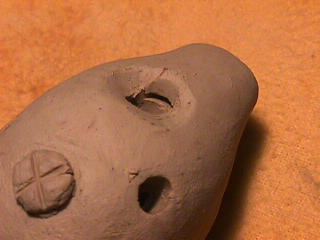
I repaired the sound hole and its surroundings.
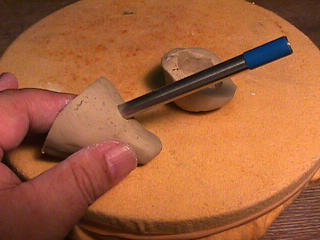
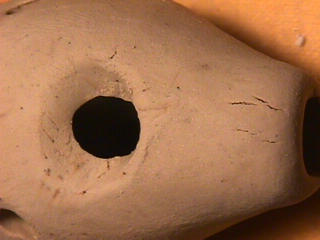
Make a total of four tone holes (They are the holes which you close to play different musical notes.) You will be able to play Do - Re - Me - Fa - So.
Only other thing you have to learn is to make the instrument into the form of real ocarina (sweat potato type) and to make it possible to play the music scale. Please call your instrument an 'Ocarina' only when you become able to make all the sounds. An instrument which can not make all the notes is a trash or a toy. To my regret, there are a lot of people who call the trash or the toy an 'ocarina'. Please don't be too proud of yourself even if you leaned the introduction. Try hard until you can make a real one.
(An ocarina is a musical instrument and at the same time a tool to convey your feelings.)
To my great sadness, some people whom I taught don't understand my point of view. They say they can make ocarinas better than those sold at stores. It is too soon to think that they mastered ocarina making. (The quality of commercially available ocarinas is too poor.)
I would like you to hear the sound of my ocarina because I make them seeking for my ideal sound.